
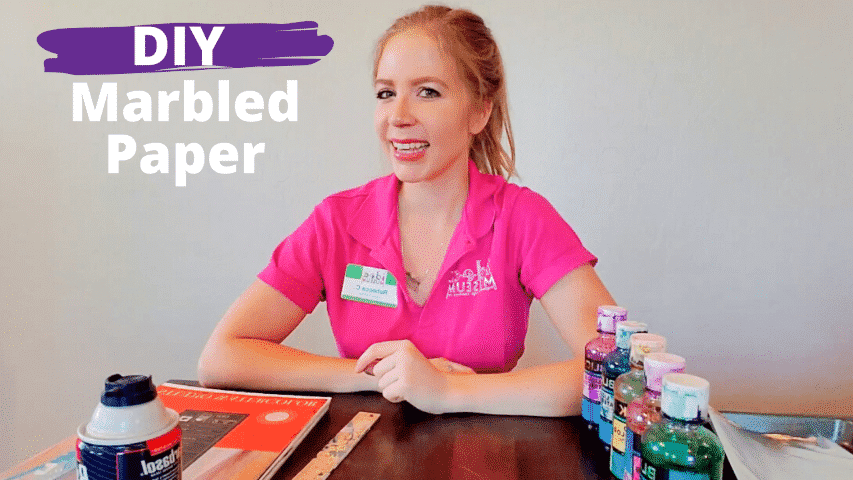
If you’re interested in creating some totally unique drawing paper that’s simple and a little messy, this is the craft for you. Follow along with the video below to learn how to create your own colorful marbled paper using a few supplies you probably already have around the house.
This at-home idea comes from Gallery Educator Rebecca Cameron, one of several talented team members at the i.d.e.a. Museum. Gallery educators help create activities featured in our museum’s exhibitions and school tours. Learn more about Rebecca below.
Supplies needed
- Paper (any kind will do)
- Food coloring
- FOAM shaving cream
- Cookie sheet
- Foil
- Something to stir with (fork or spoon is fine)
- Ruler
- Paper towels
Getting started
- Lay your foil on top of your cookie sheet
- Spray the foam shaving cream on the foil
- Spread the shaving cream (you want it to be an even, smooth layer)
Unleash your inner Jackson Pollock
- Drip your food coloring all over the shaving cream
- Use your stirrer to swirl the colors together
- Get Creative, this could be abstract or realistic
Have your kids learn more about artist Jackson Pollock by clicking here.
Start printing
- Gently press your paper against your shaving cream masterpiece
- Pull the paper off the try and lay it flat on work surface
- Use ruler and/or paper towels to scrape off shaving cream from paper
When you are done, you‘ll have beautiful marbled paper. You can keep repeating your printing process to make more!
This paper can be used as drawing paper, greeting cards or any kid of paper craft.
Hope you had fun!
Rebecca is a full-time artist and former teacher. At the museum, she helps develop art-making activities and is often leading programs, such as Messy Creations, Girl Scouts, Wonder Camp, and guided tours. “I love that my job allows me the opportunity to teach in an informal setting and really get creative with the activities.”
Find her on Instagram as @bexxfineart.